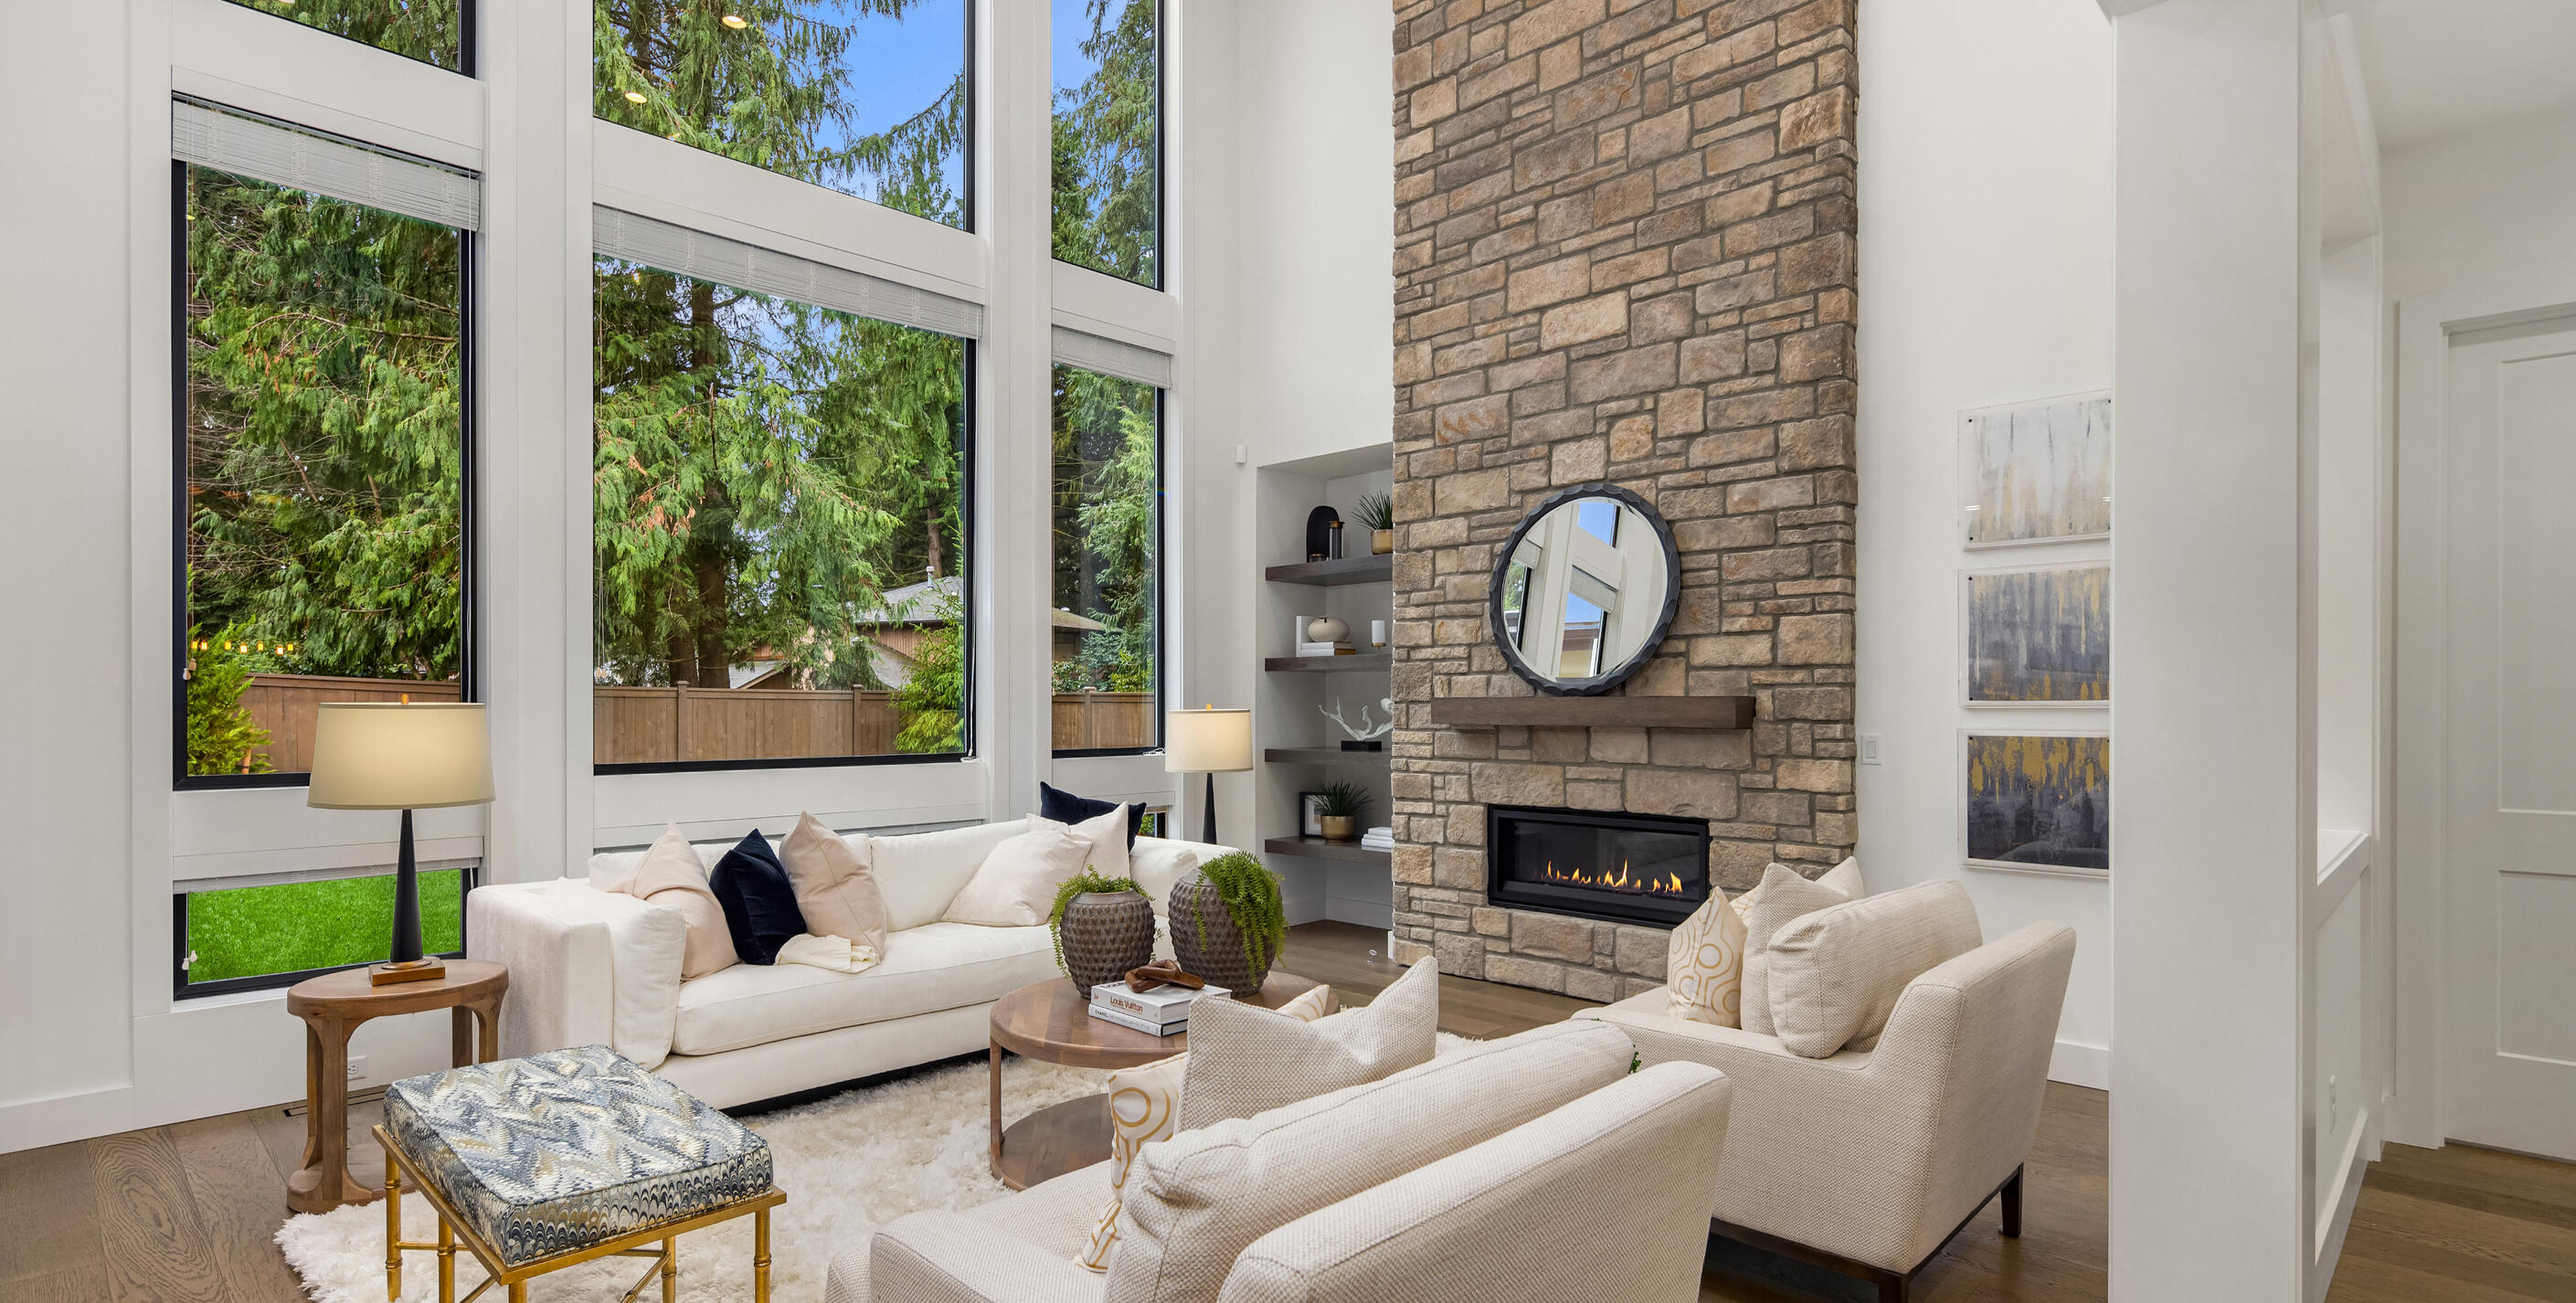
Before You List:
A Real Estate Photographer's
Pre-Listing Photo Checklist
After photographing thousands of homes for sale, I noticed the same small preparation issues appear repeatedly in listing photos. These are the most impactful things sellers can do — and the products that make each one easier.
As an Amazon Associate, I earn from qualifying purchases. Some links on this page are affiliate links — if you purchase through them, I may earn a small commission at no extra cost to you. This helps support the creation of free home-preparation resources for sellers.
Photo Day Preparation Checklist
Whole House
• Turn on every light
• Open all blinds and curtains
• Replace burned-out bulbs
• Remove personal photos
• Hide trash cans
• Clear floors of small items
• Put away pet bowls and toys
Kitchen
• Clear counters (leave 2–3 items max)
• Remove magnets and papers from refrigerator
• Hide dish soap, sponges, and sink stopper
• Empty sink
• Wipe appliances
• Remove dish towels from appliances
Bathrooms
• Fresh towels only
• Close toilet lids
• Remove toiletries
• Clean mirrors
• Hide trash bins
• Toilet paper should look neat
Bedrooms
• Make beds neatly
• Clear nightstands
• Remove laundry baskets
Exterior
• Move cars from driveway
• Put away hoses and bins
• Sweep entry
• Remove garbage and recycling bins
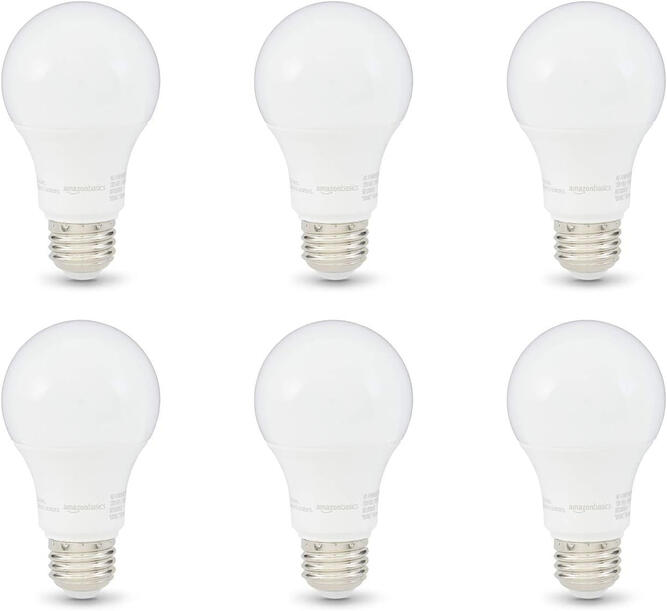
Step 1 — Replace Bulbs With Soft White Lighting
Daylight and cool-white bulbs give rooms a clinical, office-like feel on camera. Switching every fixture to soft white (2700K) is a five-minute change that makes a space feel lived-in rather than sterile.Why it matters: Warm light triggers an emotional response buyers can’t quite name — it makes a room feel like home instead of a showroom.
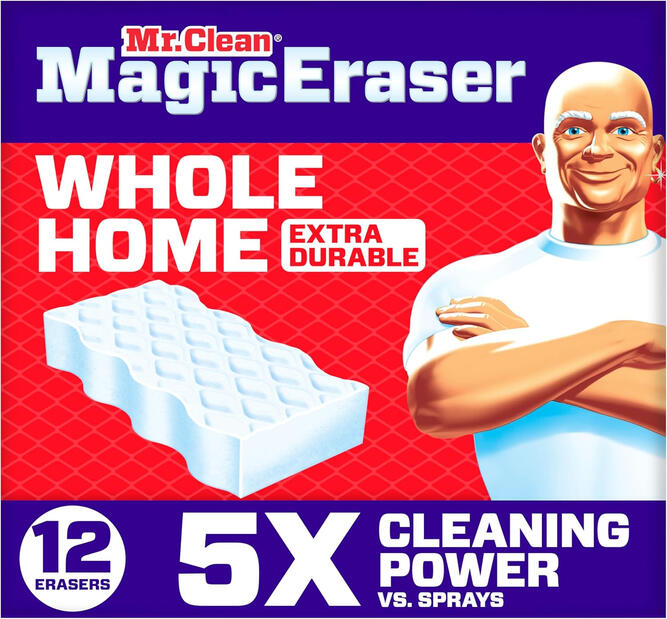
Step 2 — Remove Wall Marks Before Photos
Fingerprints and scuff marks near light switches
and door frames barely register when you walk past them daily — but a wide-angle lens catches every one. A melamine eraser sponge clears them in seconds.Why it matters: Marked walls read as heavy wear. Clean ones read as well-kept — and that’s the impression buyers carry into every other room.
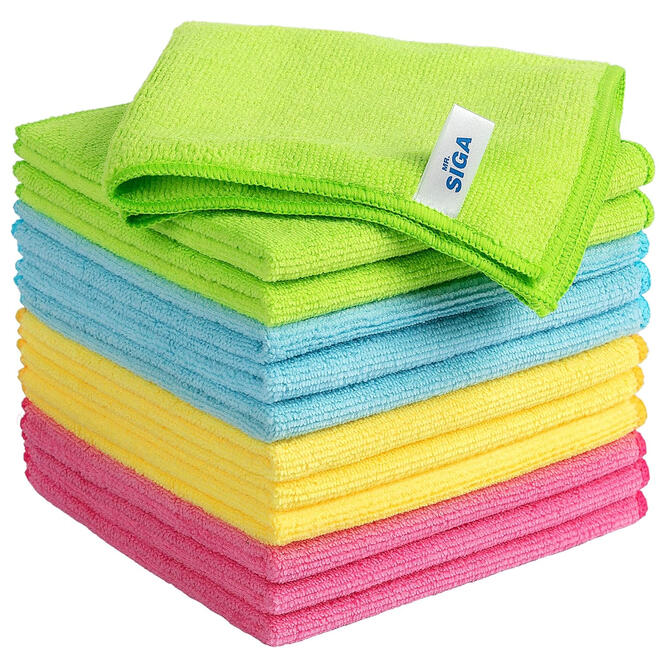
Step 3 — Wipe Every Surface With Microfiber Before
the Shoot
Dust and streaks on counters, appliances, and bathroom fixtures are invisible in normal light and visible in every listing photo. Camera flash finds surface imperfections eyes miss completely.Why it matters: A dusty surface in a listing photo tells buyers the home isn't well-maintained. A surface cleaned with microfiber photographs clean because it actually is.
Step 4 — Stage Beds With Neutral Bedding
Personal or patterned bedding makes buyers focus on the bedding, not the room. Neutral bedding removes that distraction and makes every bedroom photograph larger and more inviting.Why it matters: The primary bedroom is one of the three most scrutinized rooms in any listing. Neutral bedding makes the room the subject, not the comforter.

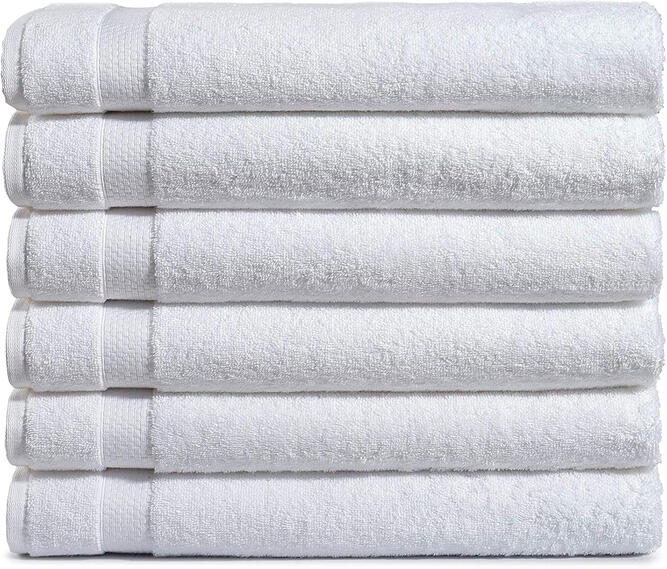
Step 5 — Put Out Fresh White Towels
Bathrooms photograph better with fresh white towels than with any other single staging item. Personal or colored towels make bathrooms feel occupied.Why it matters: Buyers compare listing bathrooms to hotels. White towels make that comparison work in your favor. Personal towels make it work against you.
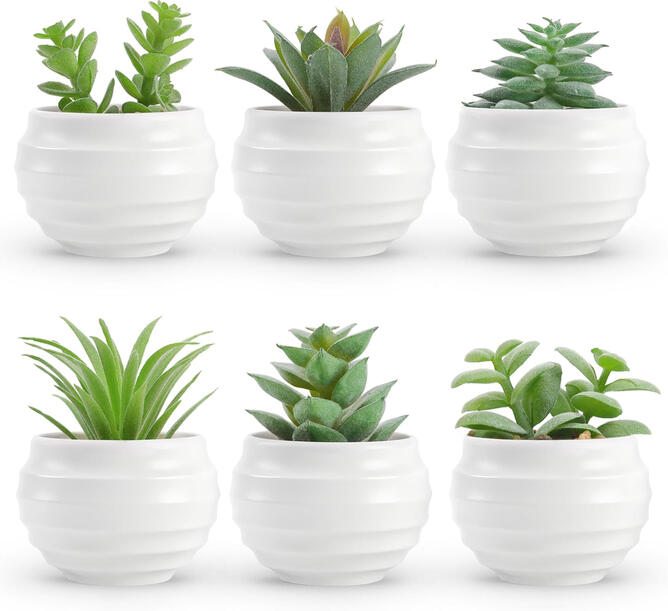
Step 6 — Add Simple Greenery to Key Rooms
A small plant on a kitchen counter, coffee table, or bathroom vanity makes photos feel warmer and more lived-in. Empty rooms feel like vacant spaces.Why it matters: Buyers make emotional decisions. A small plant signals life, care, and warmth in a way that no amount of cleaning can replicate.
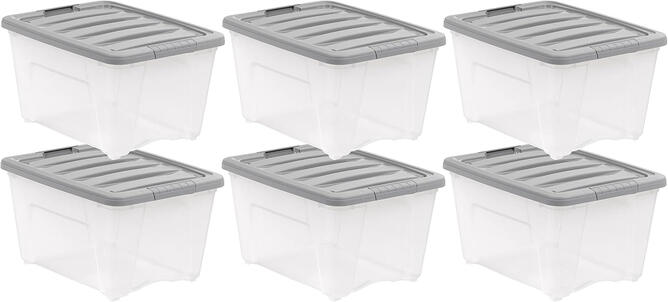
Step 7 — Hide Clutter in Storage Bins Before Photos
Having storage bins ready means everyday clutter disappears in seconds without creating a new problem somewhere else.Why it matters: A photographer who arrives to a prepared home spends their time shooting. Your listing photos are only as good as the time the photographer can spend on them.
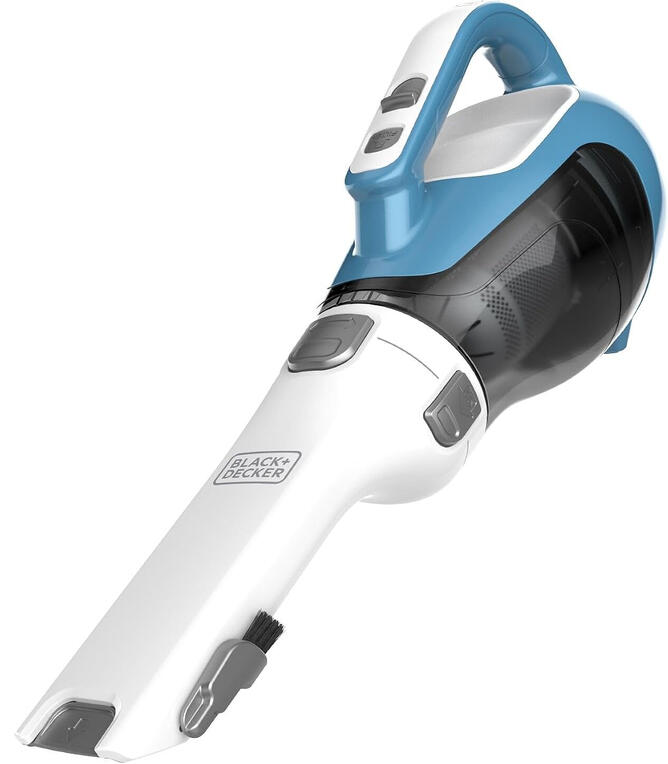
Step 8 — Do a Final Vacuum Right Before Photos
A cordless handheld vacuum in the last 15 minutes catches crumbs on counters, dust on shelves, and debris on floors that appear in close-up shots.Why it matters: Listing photos are taken at wide angles and close range. Something invisible at normal distance becomes obvious when a camera is 18 inches from a counter.
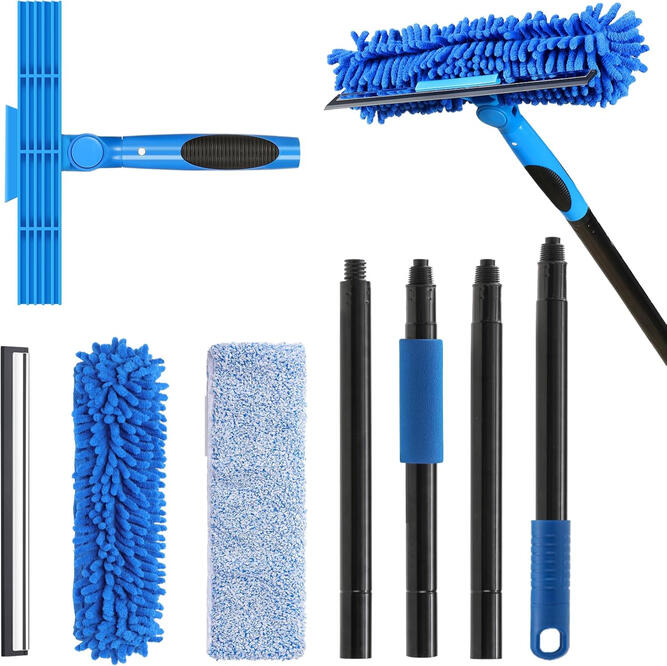
Step 9 — Clean Every Window Before Photos
Clean windows dramatically increase the amount of natural light in listing photos — and natural light is the single most consistent thing buyers say they want.Why it matters: A window cleaning kit with an extendable pole lets sellers clean every window in under an hour. That hour is one of the highest-return investments before photos.
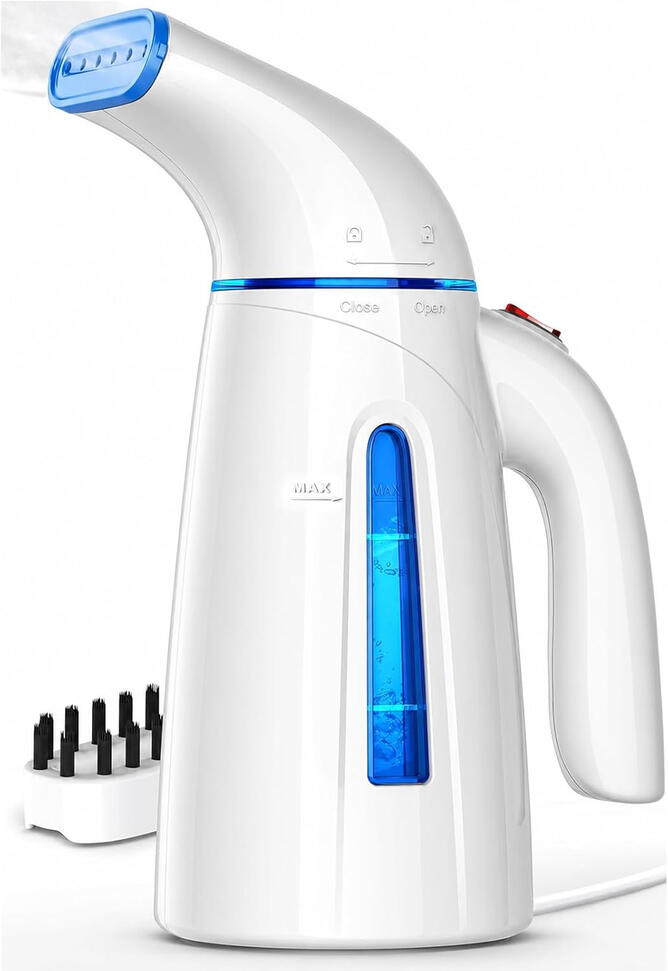
Step 10 — Steam Bedding and Curtains Before Photos
Wrinkled bedding and curtains show clearly in listing photos even when they look fine in person. A handheld steamer refreshes fabric in minutes.Why it matters: Wrinkles signal that a home was photographed quickly without real preparation. Smooth fabric signals care and attention — what buyers want to believe before they visit.
More Guides for Home Sellers
Before Listing
• Decluttering Guide
• Cheap Fixes Guide
• Kitchen Fixes Guide
• Bathroom Fixes Guide
• How to Make Your Home Smell Good Before Listing
• Bedroom Staging Tips
• Living Room Staging Tips
• Home Office Staging Tips
• Entryway Staging Tips
• Curb Appeal Ideas
After Selling
• Moving Checklist After Selling
• Deep Clean Before Moving Out
• First Week in Your New Home